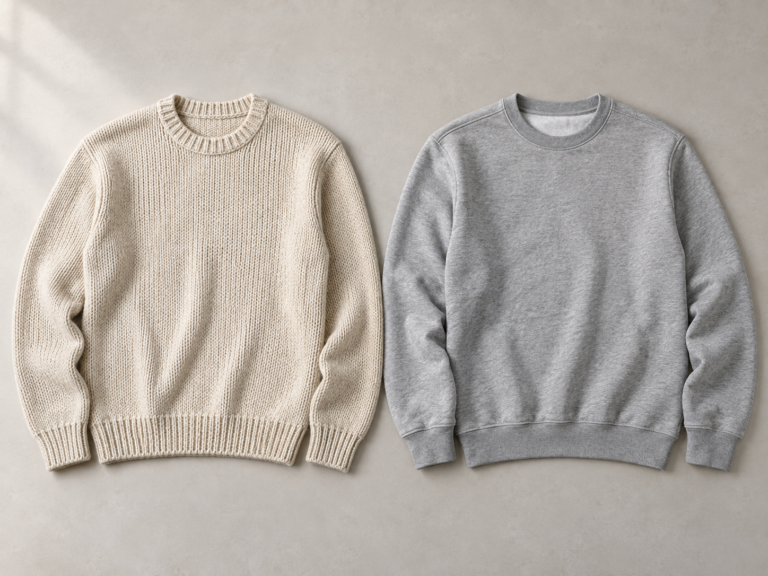
A hoodie cuff may look like a small detail, but it changes how the sleeve sits at the wrist. The hem affects how the body of the garment falls, while the collar can change the appearance of a crewneck sweatshirt. When developing these parts, brands often need to choose between 1×1 and 2×2 rib knit.
The names describe the arrangement of stitches. They do not, by themselves, guarantee a particular thickness, stretch, or level of durability. Those results also depend on the yarn, fabric weight, added stretch fibre, finishing, and the dimensions used in the garment.
Here is how to compare the two options when developing a custom hoodie or sweatshirt.
1×1 vs 2×2 Rib Knit: What Changes?
In a 1×1 rib knit, knit and purl stitches alternate one at a time. In a 2×2 rib knit, they alternate in groups of two. On a finished garment, this usually makes 1×1 rib appear finer and 2×2 rib show broader, more noticeable vertical ribs.
That visual difference is a useful starting point, especially if the rib will be exposed at a wide hem or cuff. But a photo of the fabric alone cannot tell you how tightly a finished cuff will hold the wrist. Two suppliers can make different-feeling trims from the same named rib structure.
For that reason, compare actual trim samples and finished garments rather than choosing from “1×1” or “2×2” on a specification sheet alone.
Where Rib Knit Makes the Biggest Visual Difference
Look at the rib in proportion to the rest of the garment. A narrow cuff on a lightweight sweatshirt may call for a quieter texture. On a heavyweight, oversized hoodie, a wider rib can become a visible part of the design.
The choice is especially noticeable at three points:
- Sleeve cuffs: Check whether the cuff looks balanced with the sleeve width and gathers the fabric as intended.
- Bottom hem: Check whether the hem draws the body inward or lets it fall more loosely.
- Crewneck collar: Check the collar’s width, surface texture, and how it sits against the neckline.
The same rib does not have to be used at every opening. What matters is that the choices work together visually and meet the intended fit.
Choose the Trim Around the Silhouette
Start with the shape you want the customer to see when the garment is worn.
For a relaxed sweatshirt with a clean, understated finish, a finer-looking rib may support the design. For a streetwear hoodie where cuffs and hem are more prominent, a wider-looking rib may suit the overall proportions. These are design directions, not fixed rules: yarn size and finishing can make either structure look more or less pronounced.
Then consider how much the opening should pull in. A very tight bottom hem can change an intended boxy silhouette. A cuff that is too loose may slide over the hand, even if its rib texture looks right in a flat-lay photo. The relaxed opening measurement and the finished fit matter as much as the rib structure.
If you are developing several sizes, review more than the base size. A cuff that works on a medium sample may need adjustment when the sleeve and wrist measurements change across the size range.
How to Check Rib Knit During Sampling
Ask the factory to show the proposed rib beside the main body fabric. Compare the colour, texture, weight, and how the seam looks where the two fabrics meet. If you have a reference garment, photograph the cuff and hem next to a ruler so the intended proportions are clear.
On the finished sample, check the following:
- Relaxed opening: Measure the cuff or hem before stretching it.
- Worn fit: Put the garment on and check where the sleeve and body sit.
- Recovery: Stretch the opening gently, release it, and see whether it returns to the intended shape.
- After-wash result: Wash the sample according to its proposed care instructions, then check the opening and overall proportions again.
- Colour match: View the rib and body fabric together in natural light, especially if they come from different fabric lots.
Record what needs changing in specific terms. “The cuff is too loose at the wrist” gives the factory a clearer direction than “make the rib better.” You can then discuss whether to adjust the opening measurement, the trim specification, or both.
What to Include in Your Production Brief
When requesting a sample for custom hoodies and sweatshirts, send any rib references you have and identify where each trim will be used. You do not need to decide every technical detail yourself, but it helps to state the result you want.
For example:
“We want an oversized hoodie with a straight-looking body. Please propose cuff and hem rib options that match the main fabric colour. The sleeve cuff should hold at the wrist without feeling tight, and the bottom hem should not pull the body in too sharply.”
A brief like this gives the factory a fit target as well as a visual reference. During sample development, confirm the rib structure, trim measurements, colour, and after-wash appearance on the garment itself before approving bulk production.
The Practical Choice
Choose between 1×1 and 2×2 rib knit by looking at the finished silhouette, not just the texture of a loose fabric swatch. The stitch arrangement affects the visible rib pattern, while the material and garment measurements determine much of the final wearing experience.
If you are developing a hoodie or sweatshirt for your brand, send us your design and reference images. We can review the intended fit, compare suitable rib options during sampling, and confirm the details before bulk production.